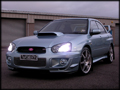
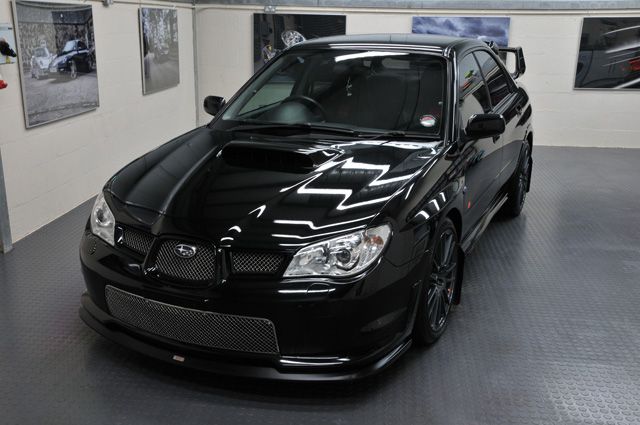
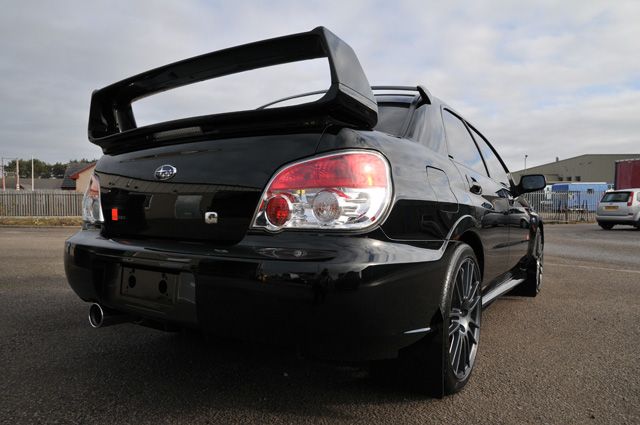
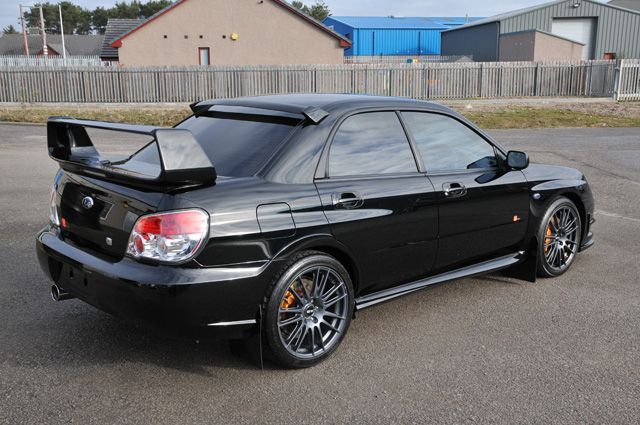
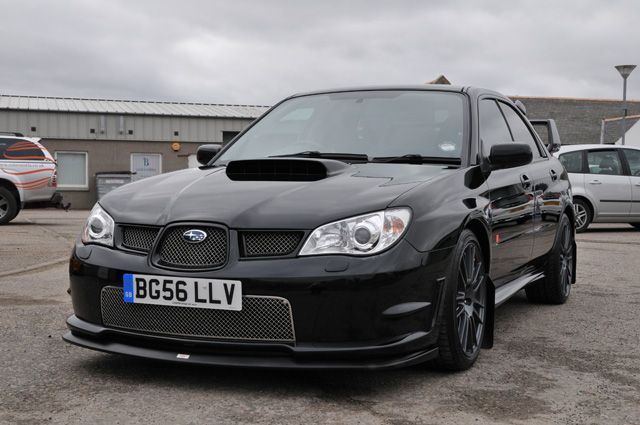
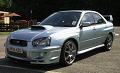
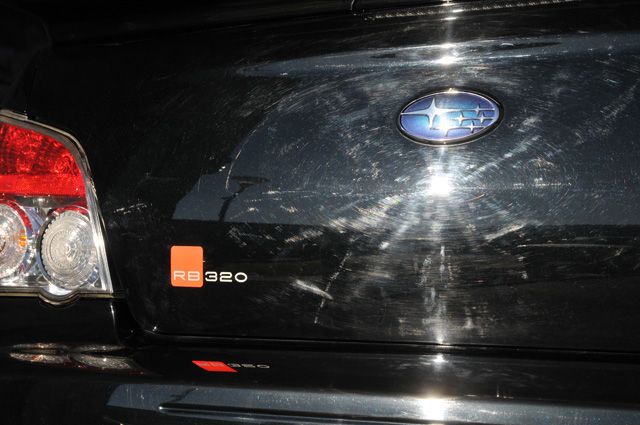
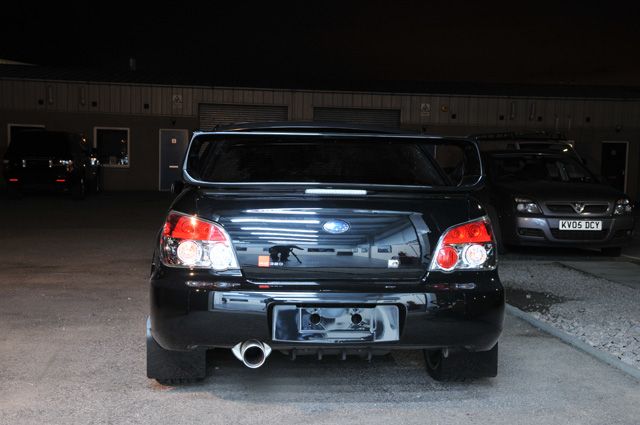
This particular RB is the Original Press car and is actually the exact one that EVO Magazine reviewed and drove rather swiftly in this video below:
http://www.youtube.com/watch?v=GoPDWBvRWwY
So understandably the paint was looking rather sorry for itself as Motoring Journalists aren't really know for their passion of car care!
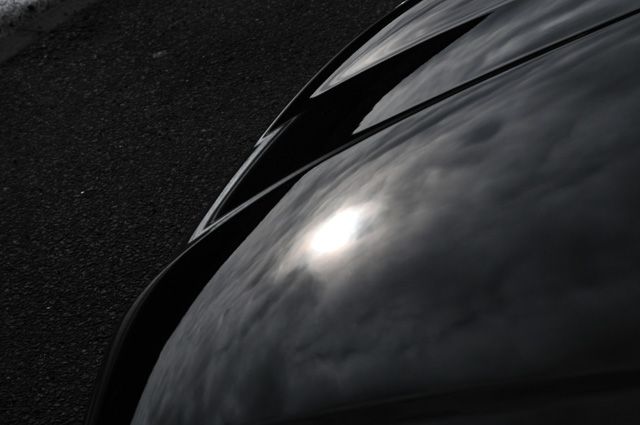
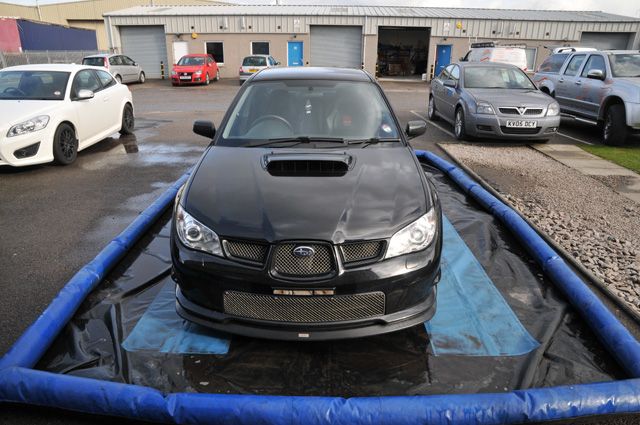
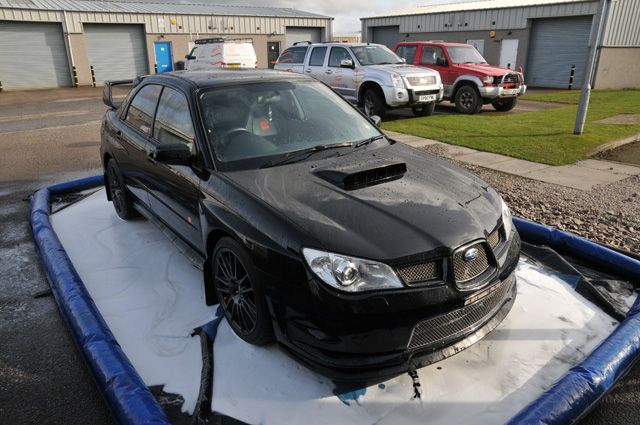
In the shade the car looks pretty good on arrival:
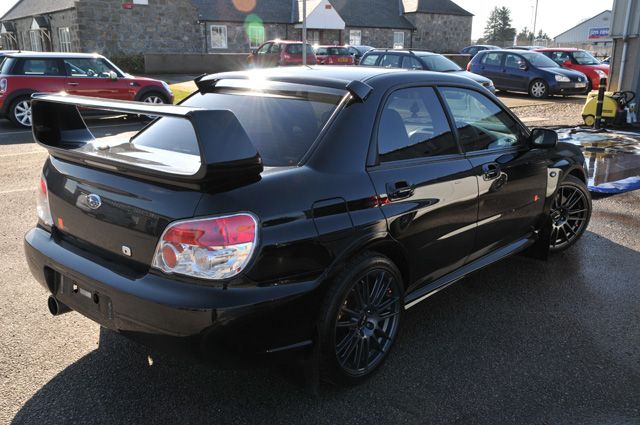
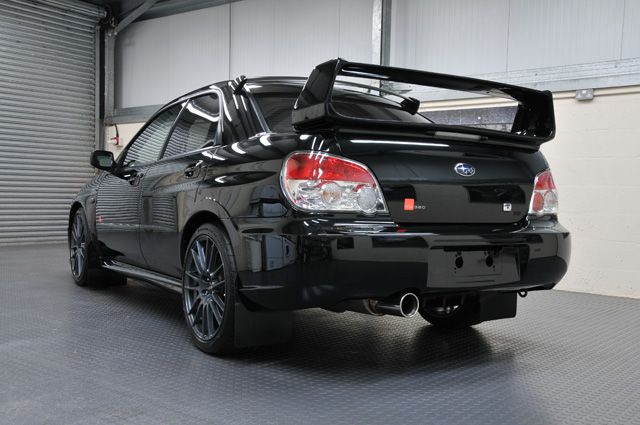
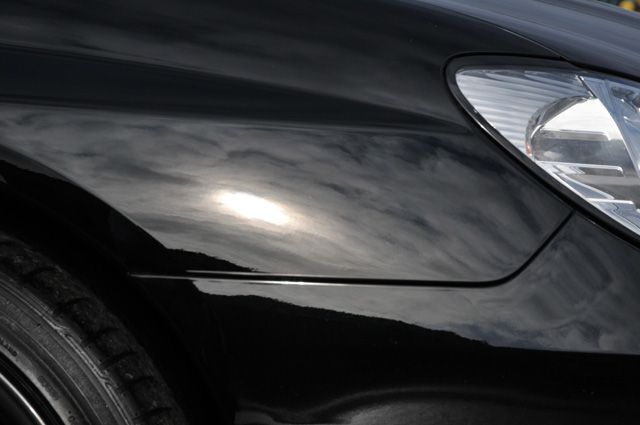
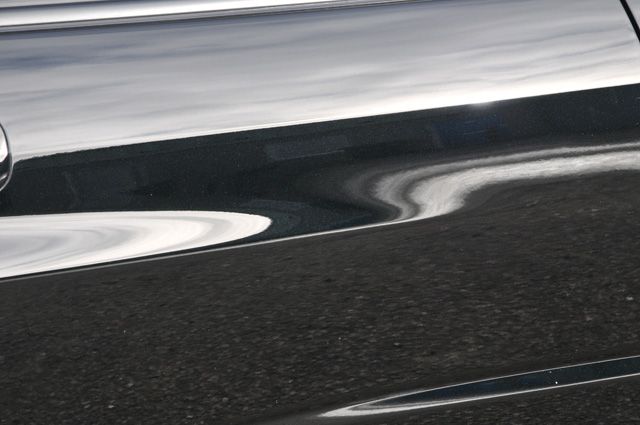
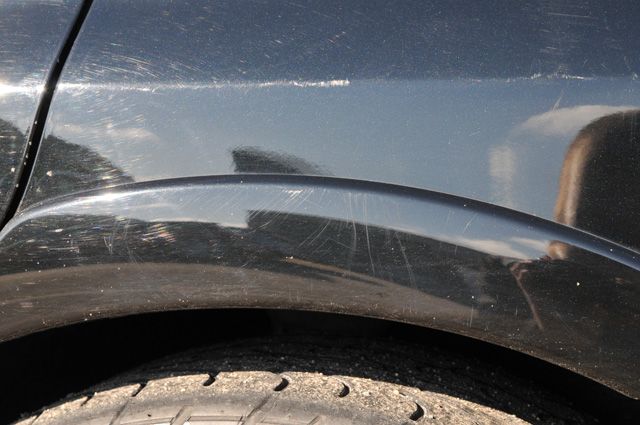
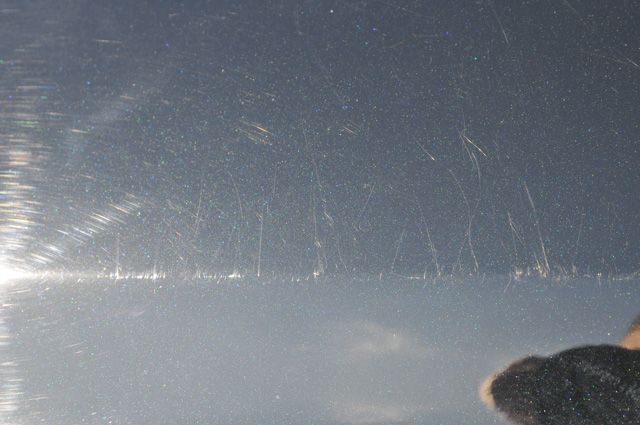
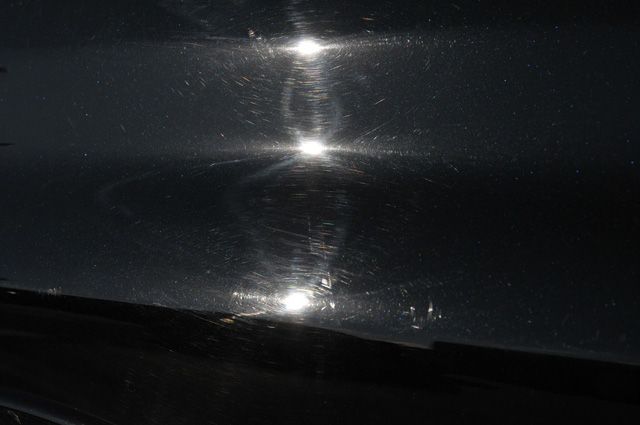
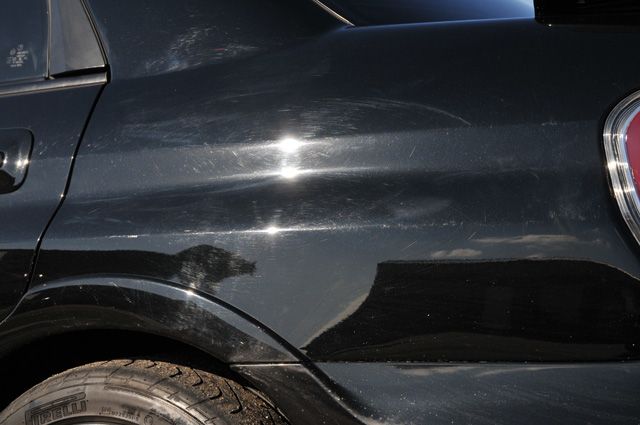
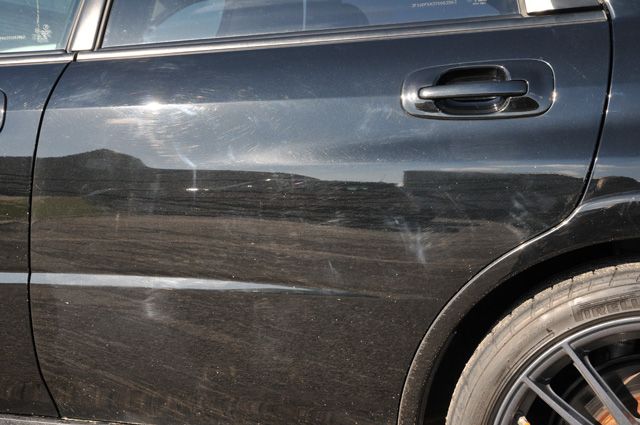
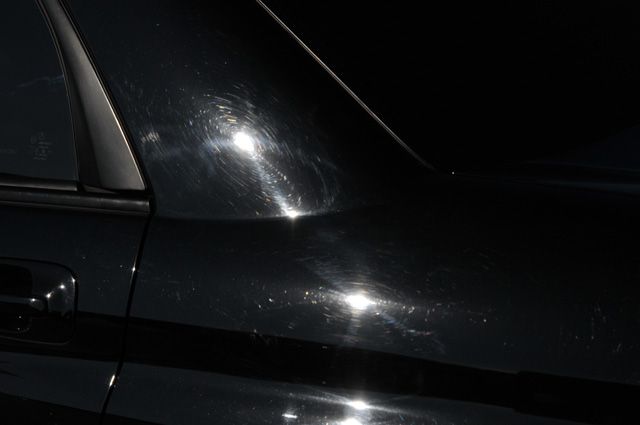
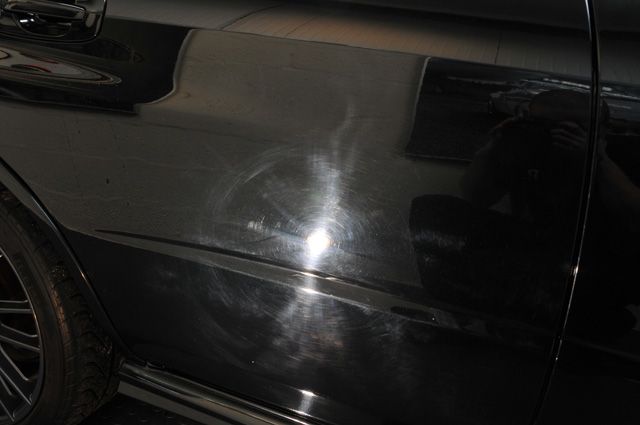
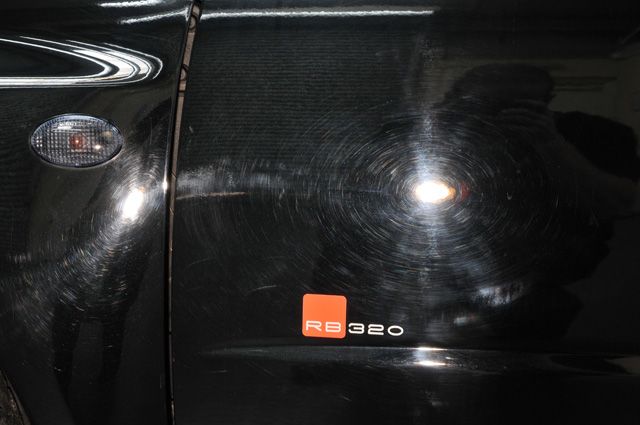
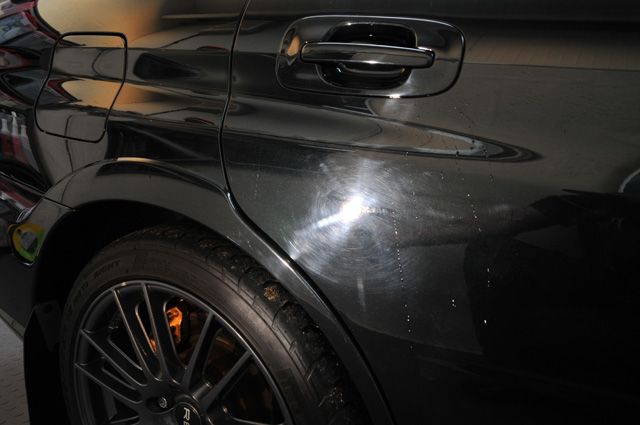
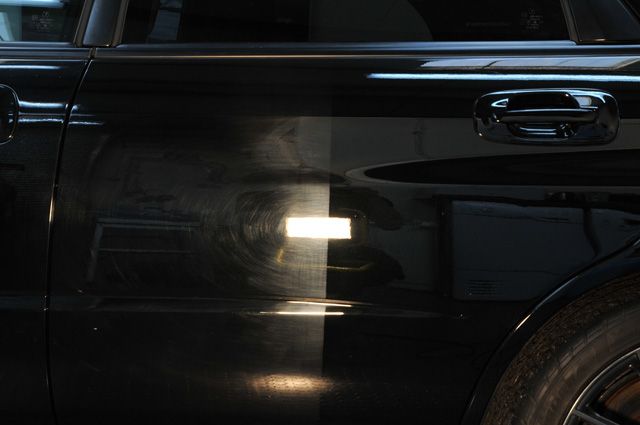
However, if we go to the other side we can see all sorts of defects lurking:
The owner was going offshore so the car was left with us for 2 weeks which meant I could work on it in between other jobs and not have to worry about finishing to a strict deadline.
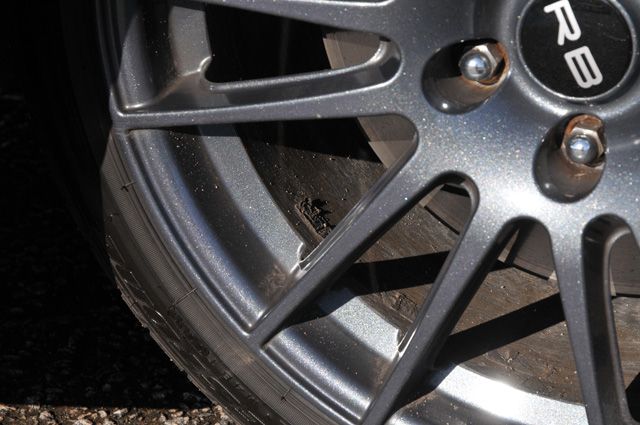
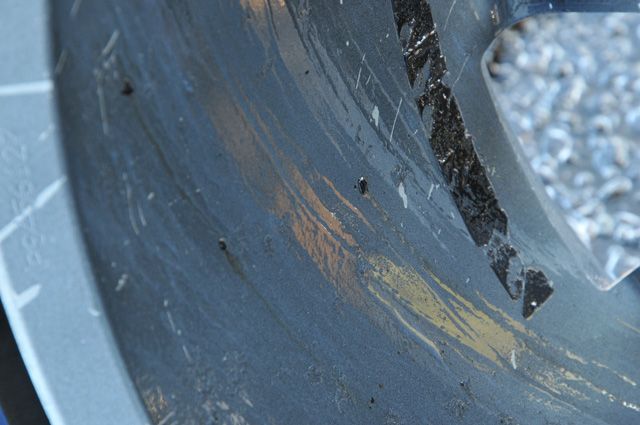
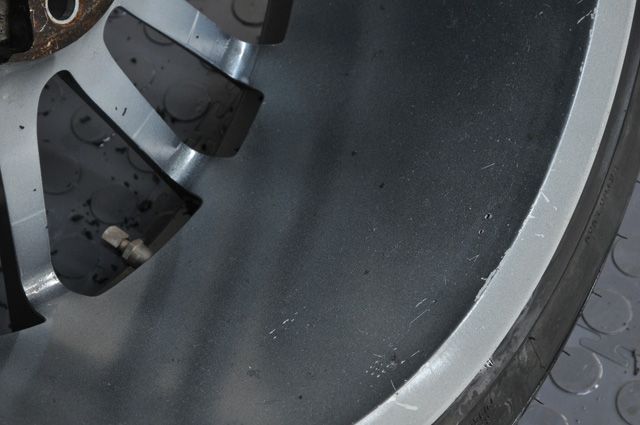
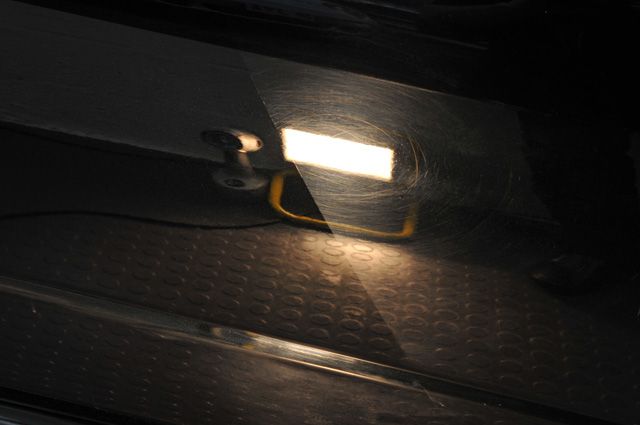
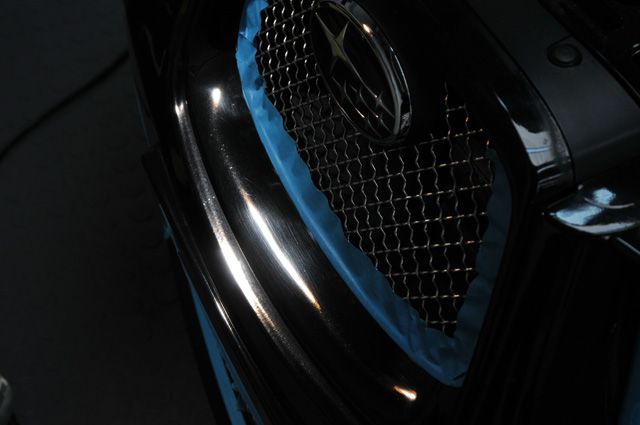
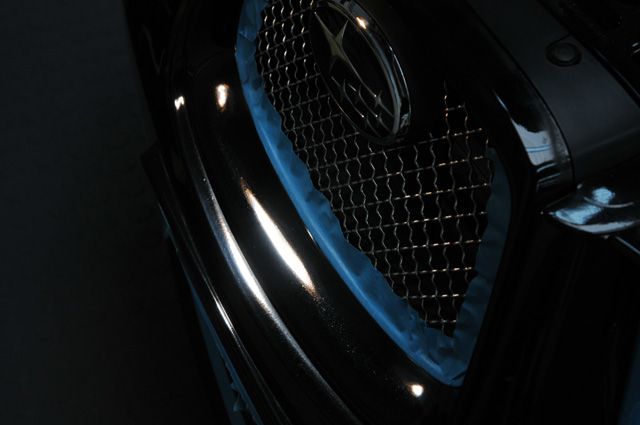
First up I decided to remove the wheels as I could see there was alot of old weight stickers and residue which were going to be a pain to remove if the wheels were still on the car:

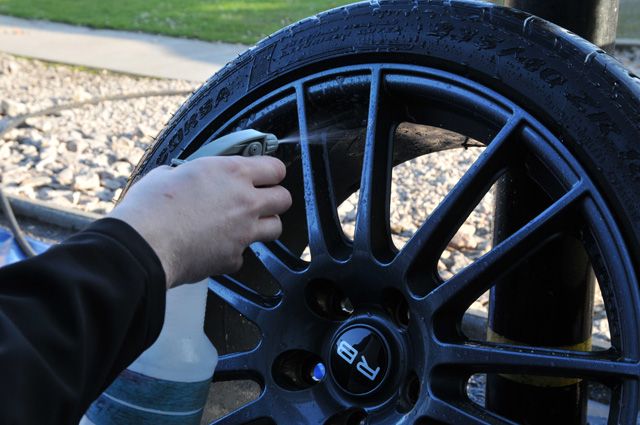
The process was as follows:
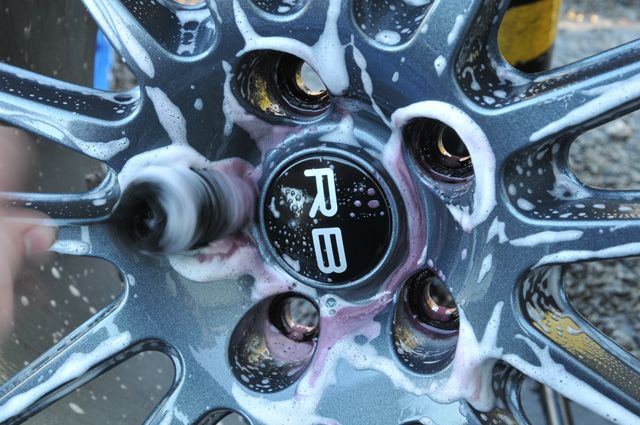
Sprayed with R222 wheel gel
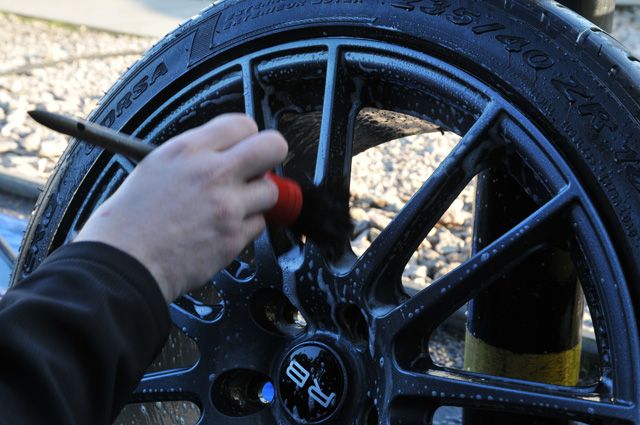
Agitated with a Swissvax Wheel Brush...
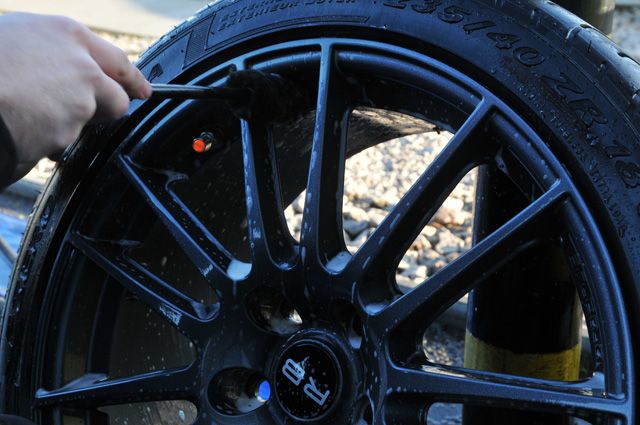
...and Wheel Woolie.
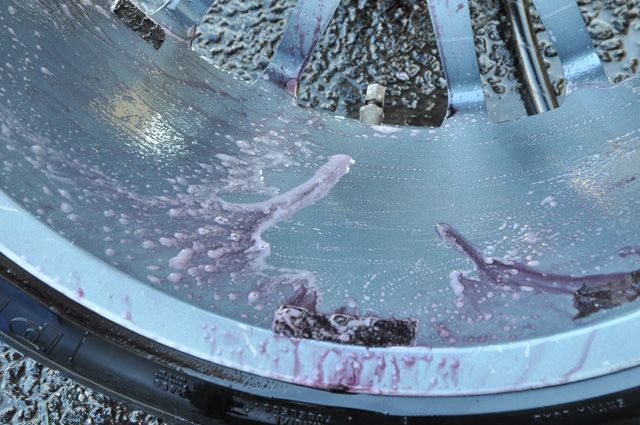
A rinse followed before Autosmart Tardis was applied to remove some tar spots:
This was rinsed off and Wolfs Brake Duster was applied and agitated after a few minutes:
A combination of Tardis and the Heat Gun was used to remove the old residue:
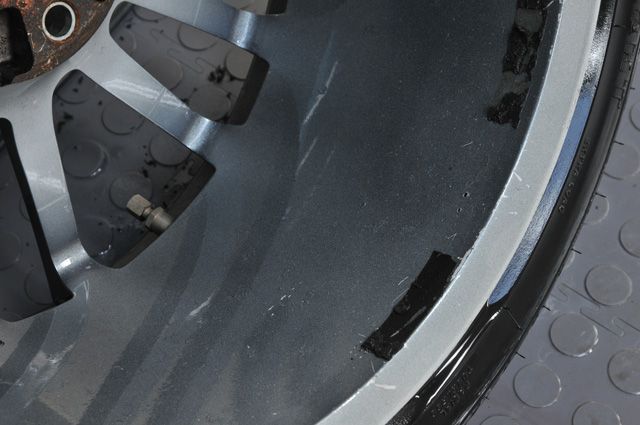
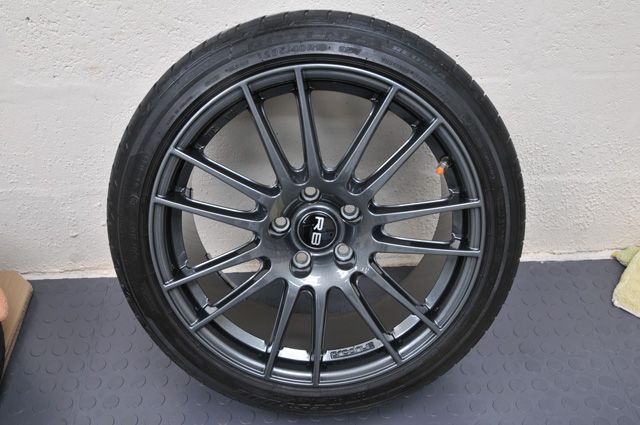
Swissvax Cleaner Fluid and then Autobahn were applied to each wheel and buffed off:

The arches were cleaned with Meguiars Super Degreaser while each wheel was off but I never took pictures as they weren't too bad to begin with in all honesty.
With all 4 wheels cleaned, protected and back on the car it was time to crack on with all the other details:
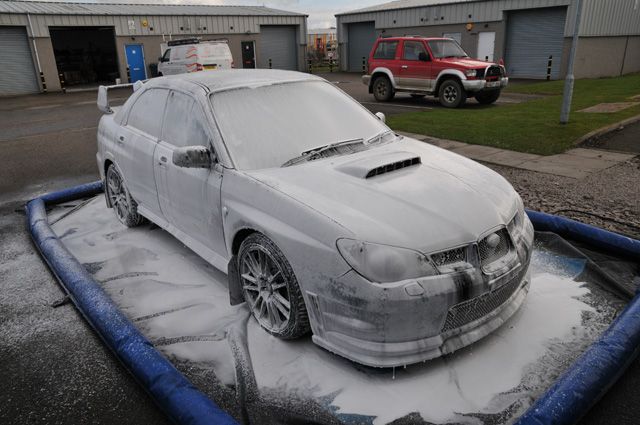
Foamed first at a temperature of approx 60/65 degrees:
Thoroughly rinsed at the same temperature:
Engine bay sprayed with Meguiars Super Degreaser and a Swissvax Brush:
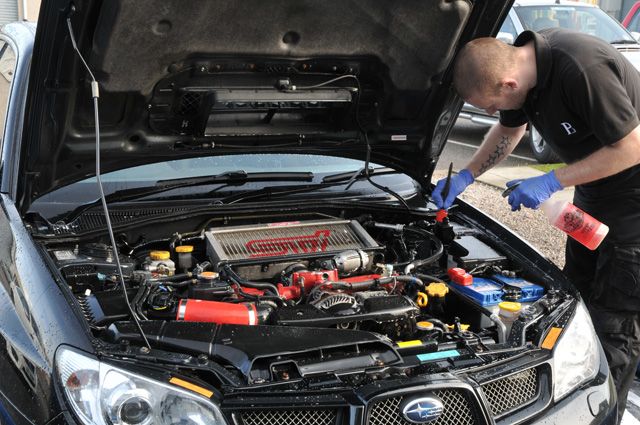
Followed by a rinse at medium pressure:
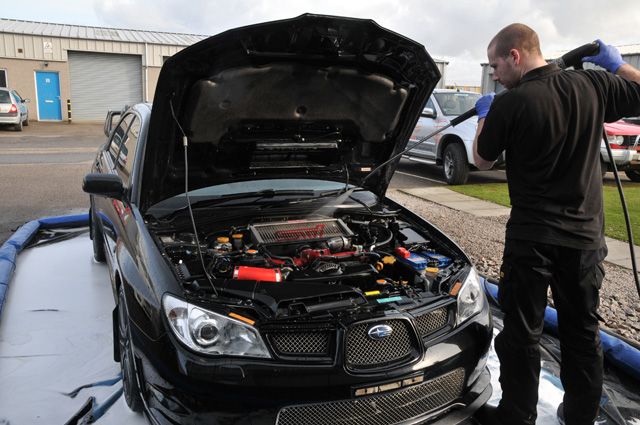
The car was then left to idle for 5 minutes.
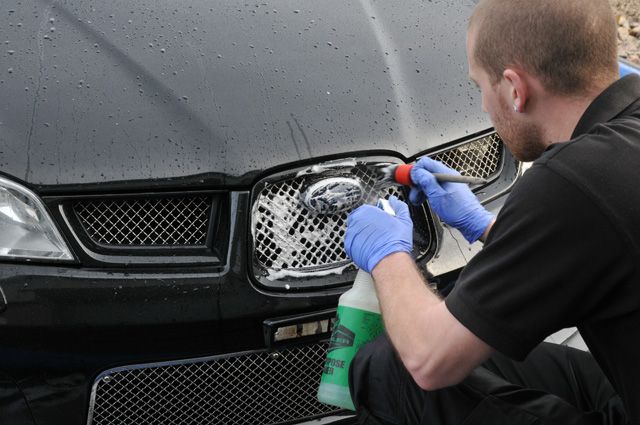
Boot, door shuts, exterior trim etc cleaned with Meguiars APC:
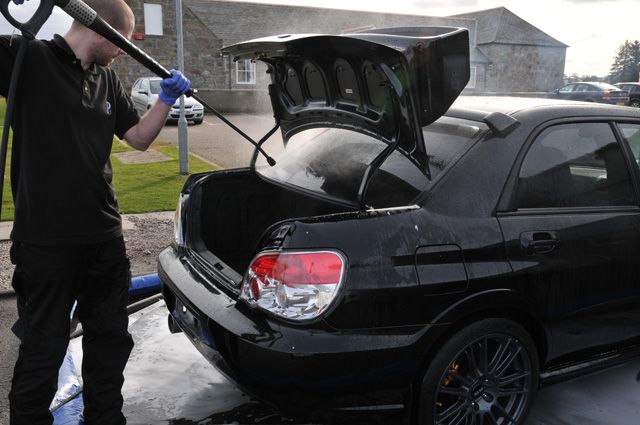
The car was then washed with the 2 bucket method, lambswool mitt and Meguiars Shampoo Plus before Autosmart Tardis was applied to all paintwork and glass:
This was rinsed off after being wiped over with an old MF towel.
Wolfs Brake Duster was then applied and wiped over with a MF towel the same as Tardis before a final rinse off.
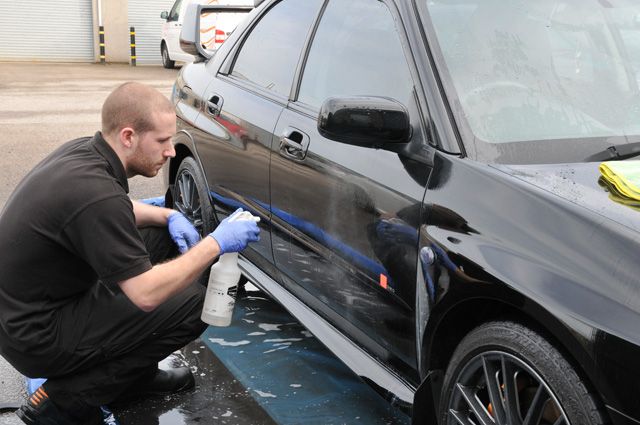
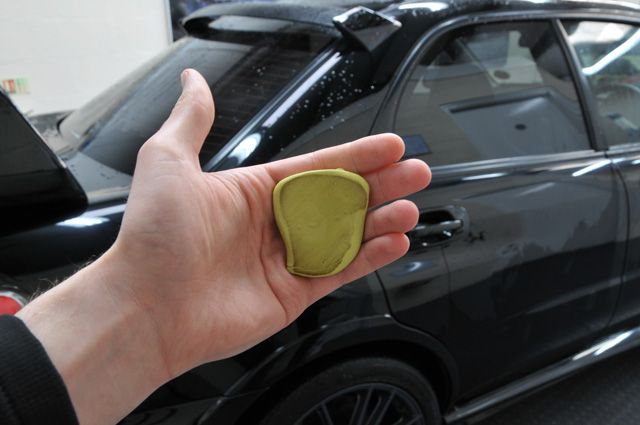
Now inside, I clayed with an Autosmart Clay I'd been given to test and water as lube:

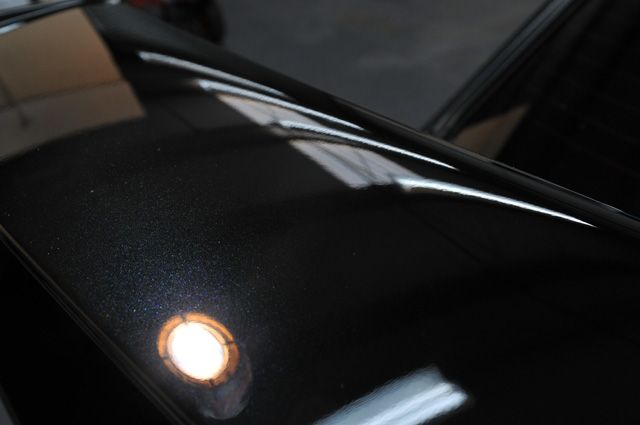
Despite the chemical cleaning during the wash stage there was still a considerable amount of contamination coming off the paintwork, this is after half the roof:
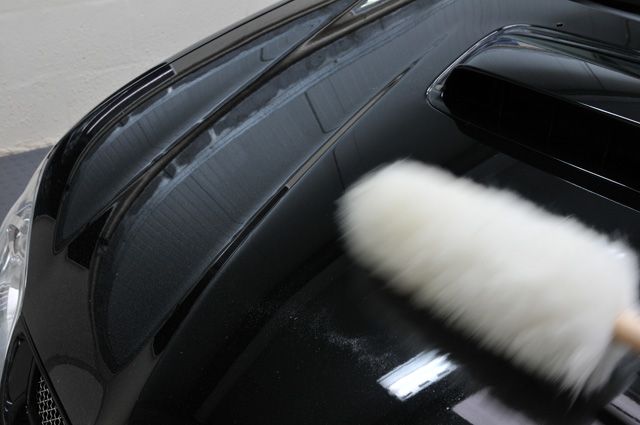
Once fully clayed I dried the car off with a PB Luxury Drying Towel and the Black Baron.
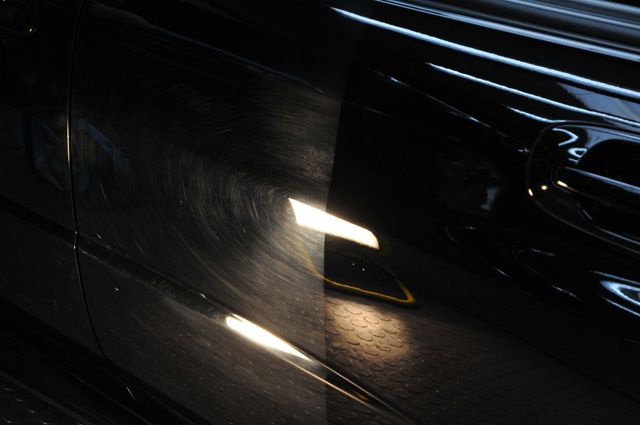
Now clean and free of any products that may have been filling any defects the true condition of the paint could be seen:
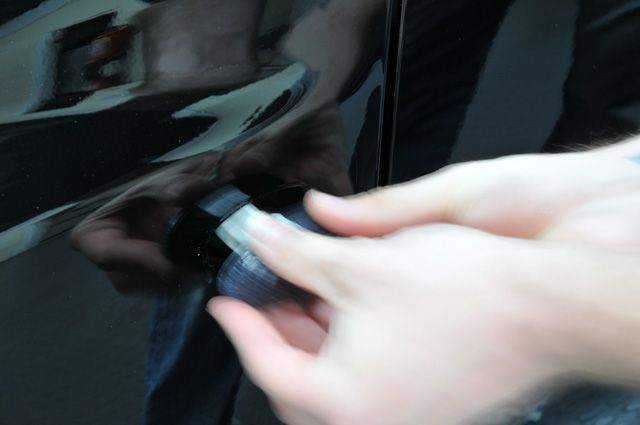
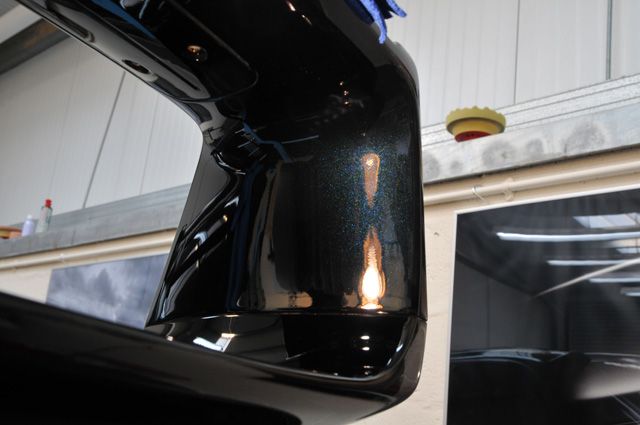
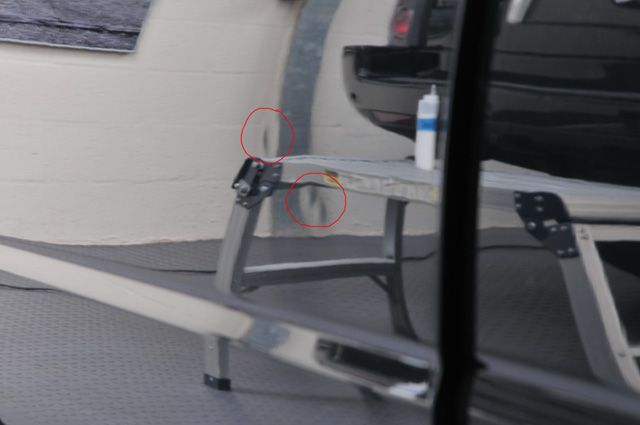
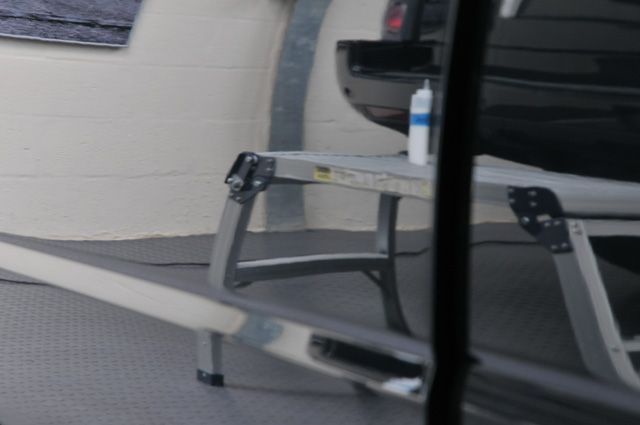
A couple of bits were removed to make polishing easier such as the side repeaters and washer jets:
I then took detailed paint readings which showed the car had a consistent level of paint, unfortunately it was consistently thin! On average it was between 75-85 microns with a couple of high spots just touching 3 figures.
Fortunately, despite the severity of the defects present in the paintwork I was confident I could achieve excellent results with minimal paint removal as experience has shown Subaru’s of this age are incredibly soft and sticky (my own car being true to form!).
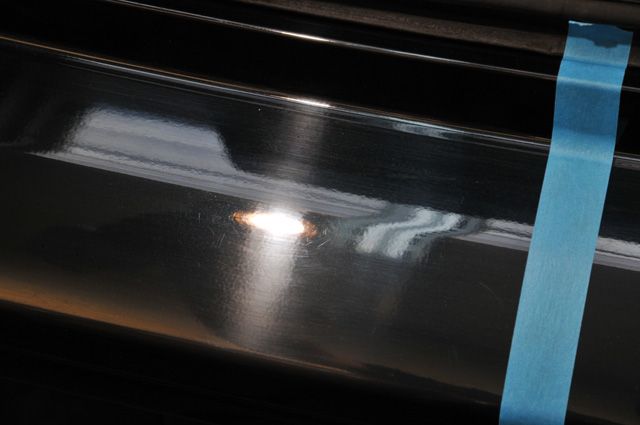
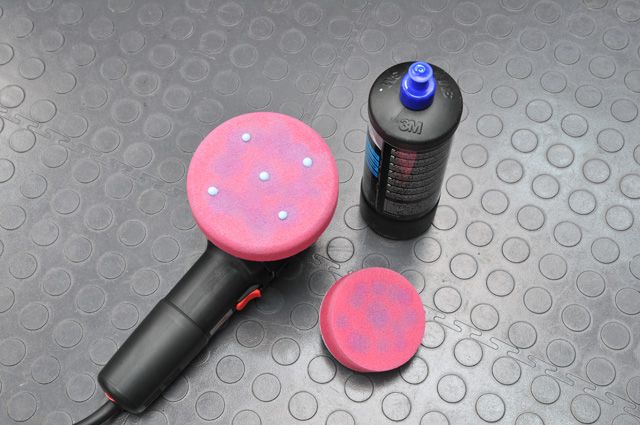
So with that in mind, I tried a very mild polish and pad combination - 3M Ultrafina and a 3M Polishing Pad. The paint was extremely sticky but the oily nature of UF and slowly building the RPM's of the rotary helped keep panels temperatures to a minimum.
Here’s the result after my test section with a total paint removal of 2 microns:
Many people would have went for a stronger combination when looking at the defects but it just goes to show what can be done with the right pad and polish!
A couple of panels in I swapped to green Lake Country Polishing Pads as the 3M pad was starting to grab a bit when loaded with polish and the LC one ran a bit cooler while still cutting well.
Some more correction shots, in no particular order:
A-Pillar before:
After:
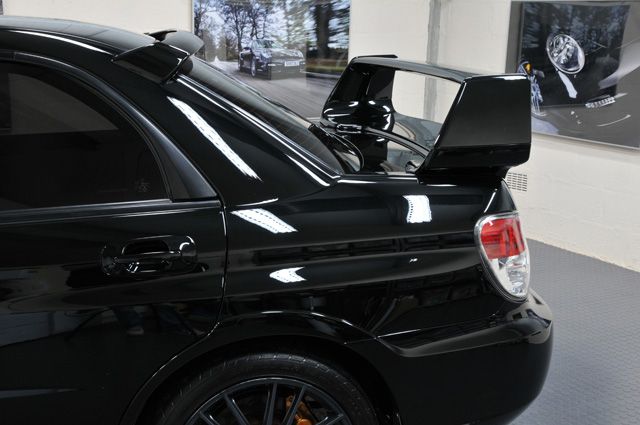
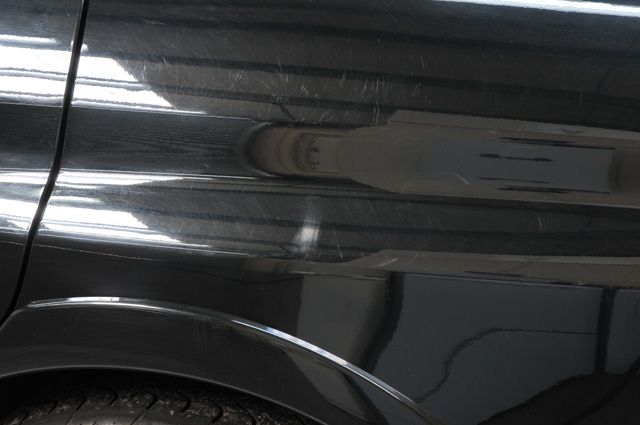
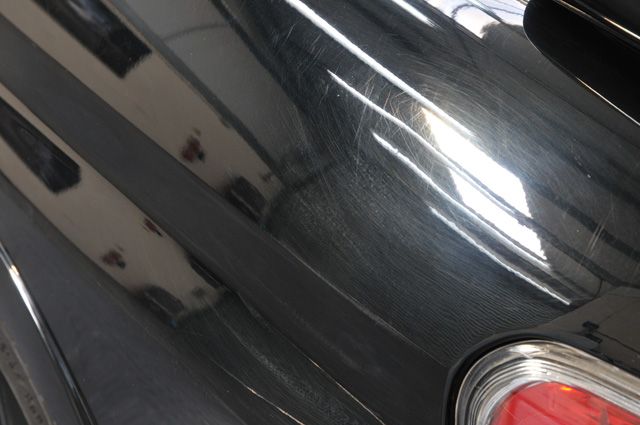
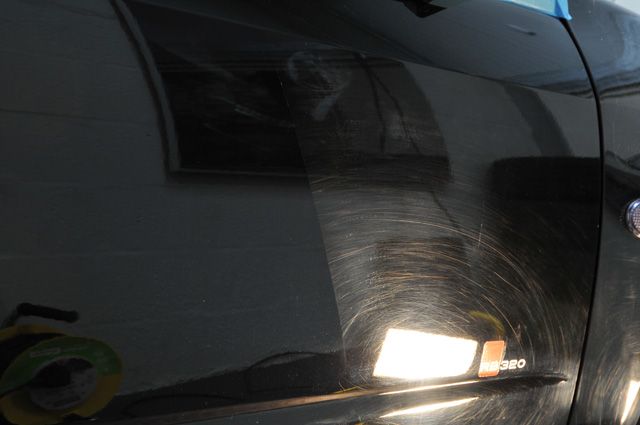
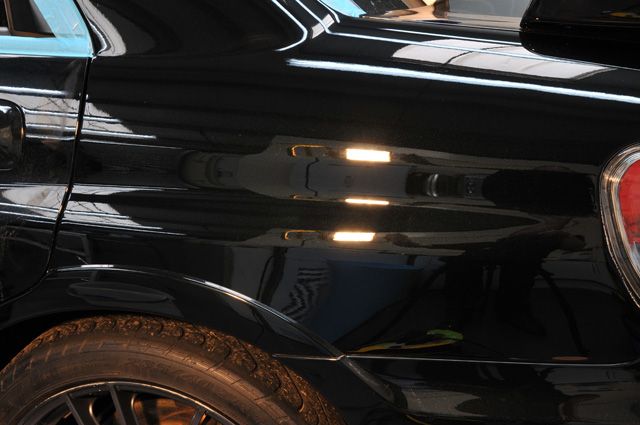
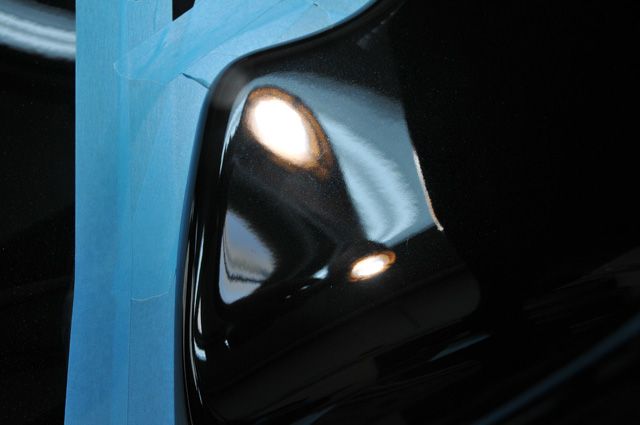
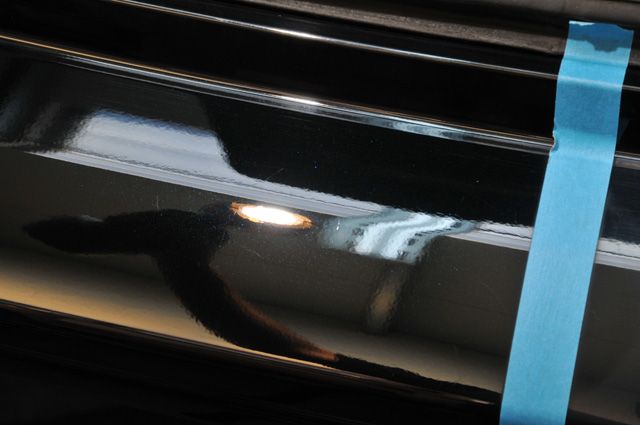
Rear quarter before:
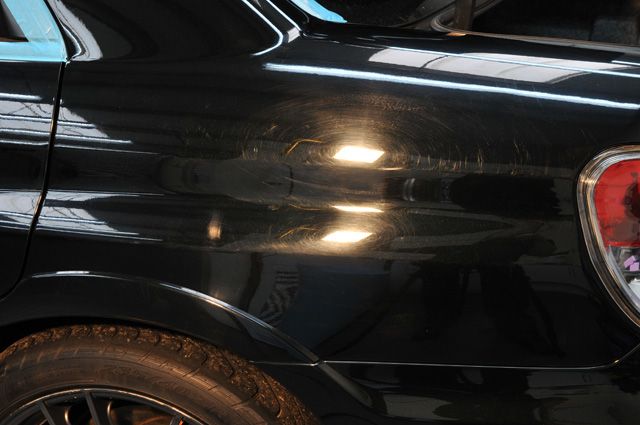
After:
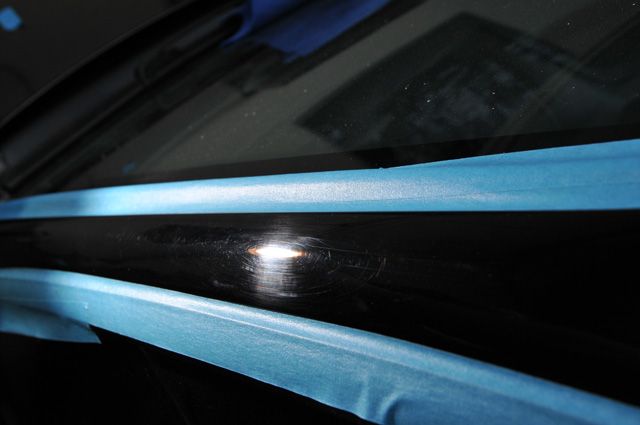
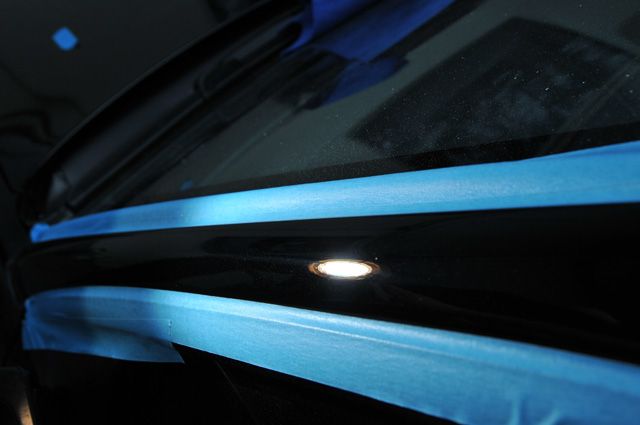
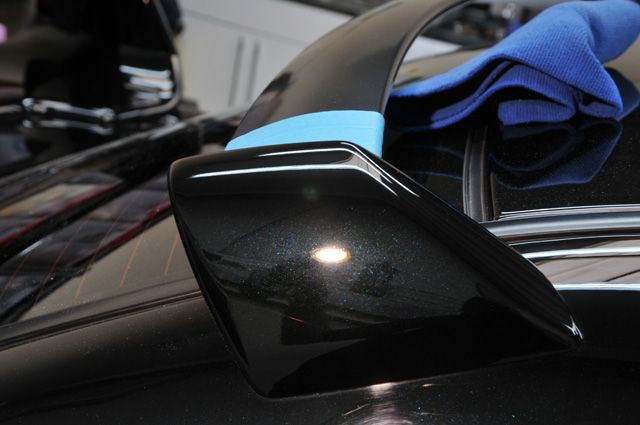
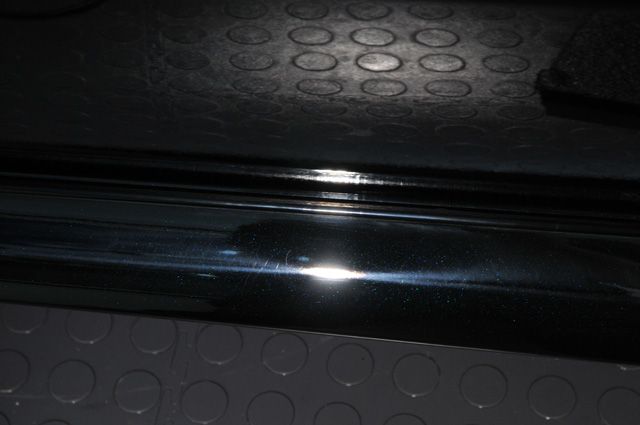
Window spoiler before:
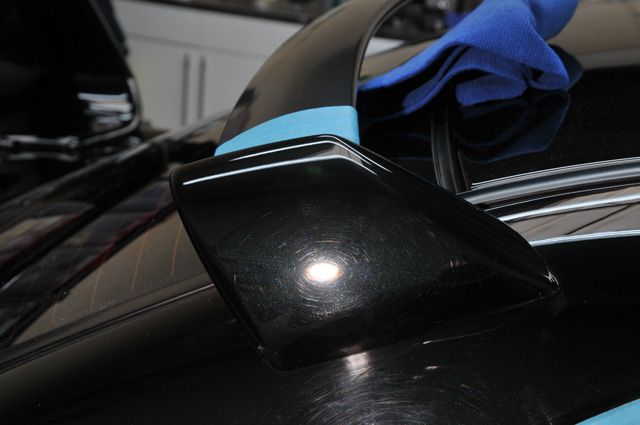
After:
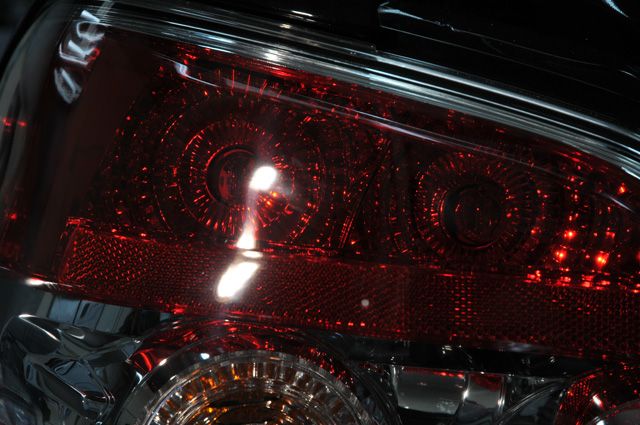
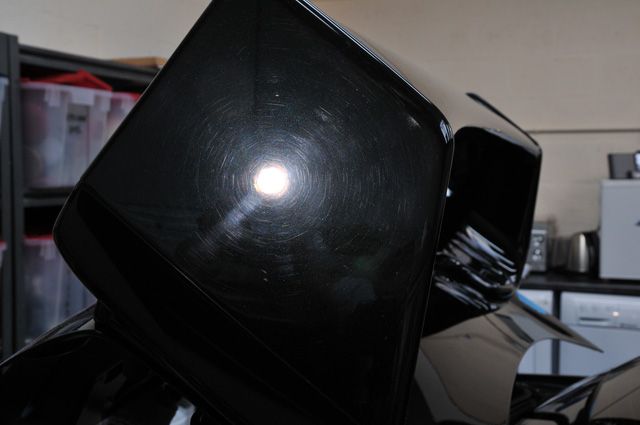
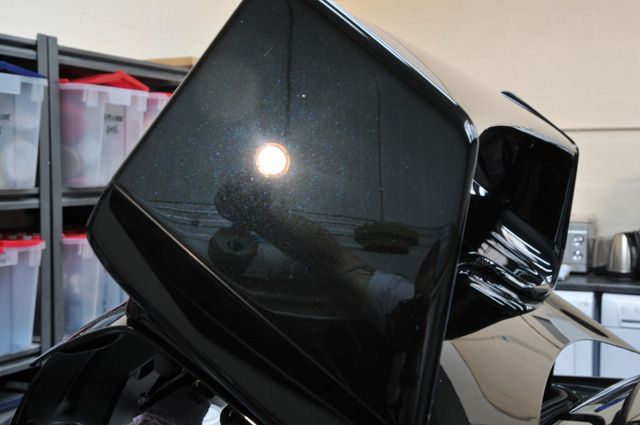
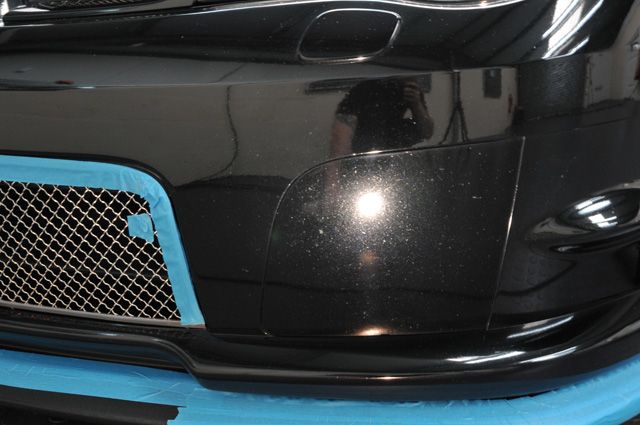
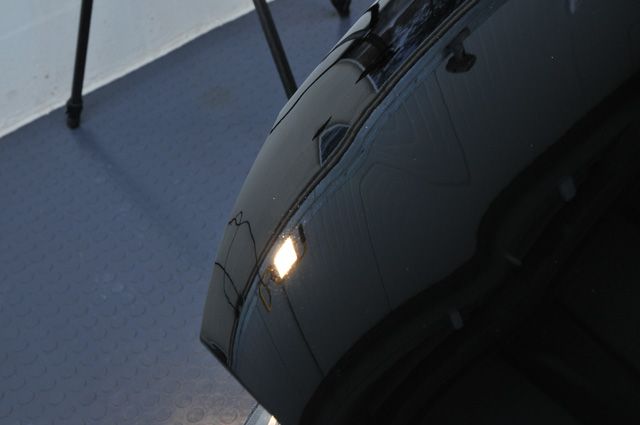
Lights before:
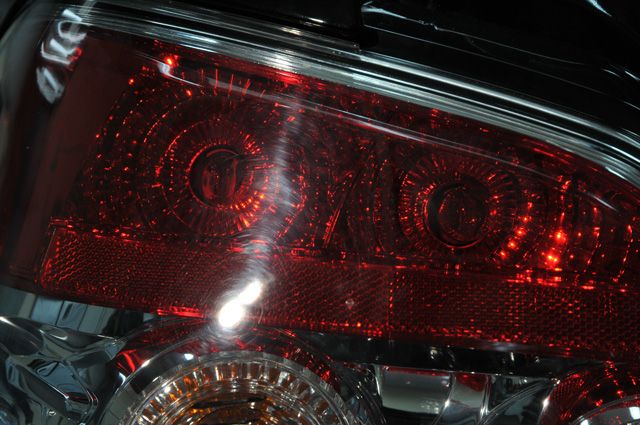
After:
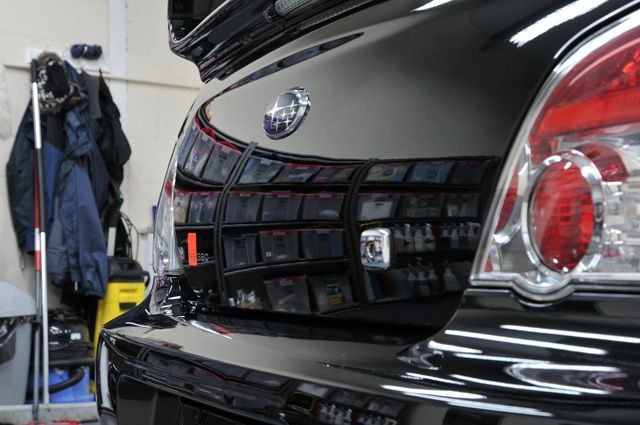
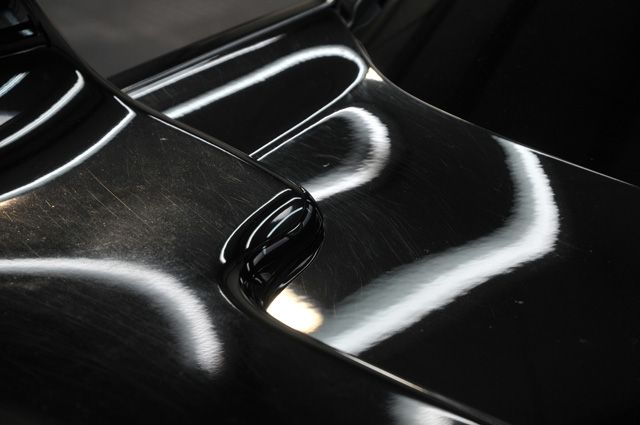
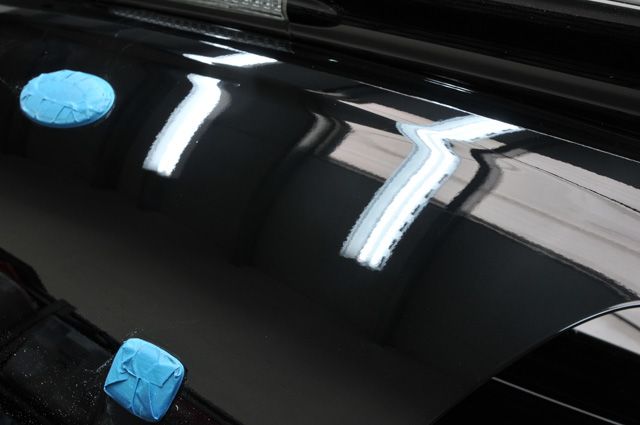
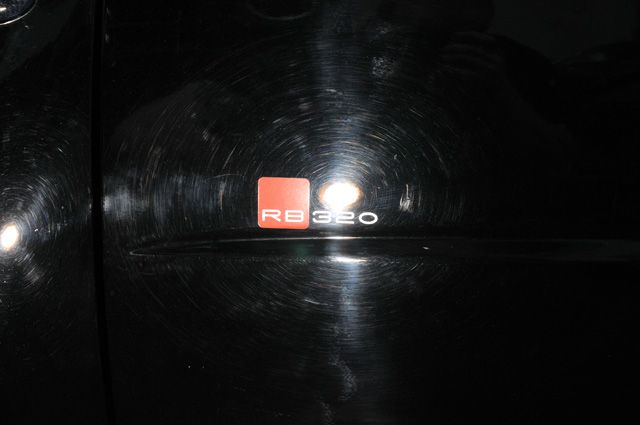
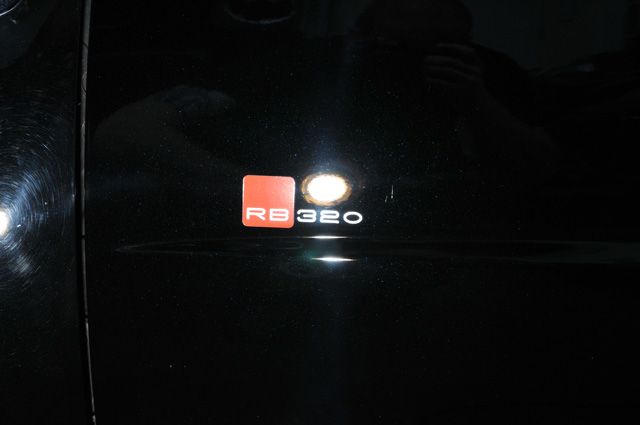
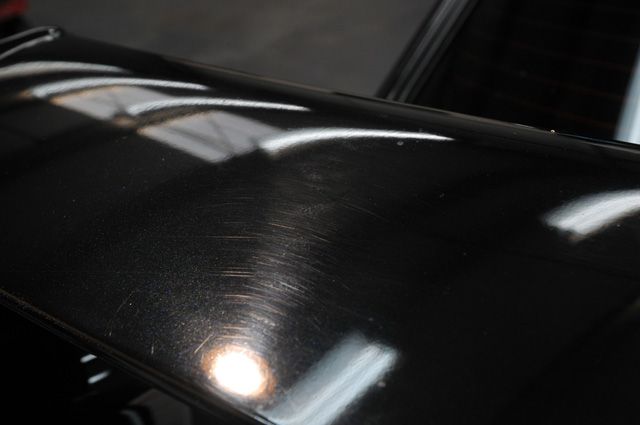
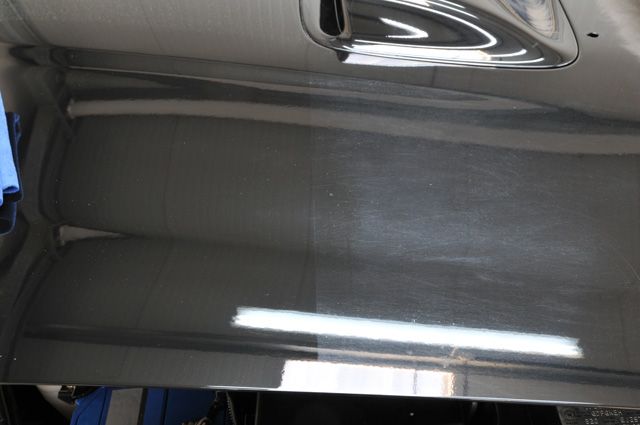
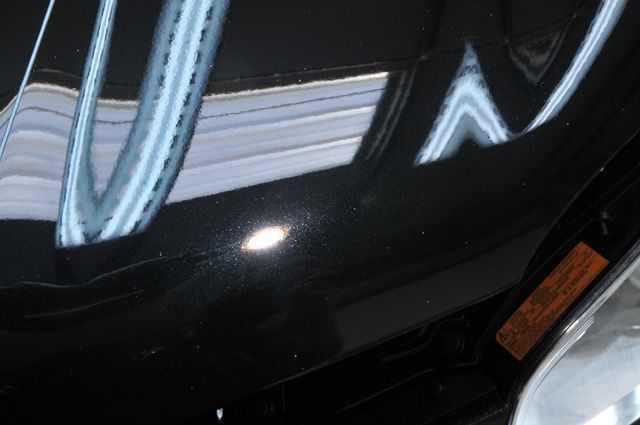
Boot lid before:
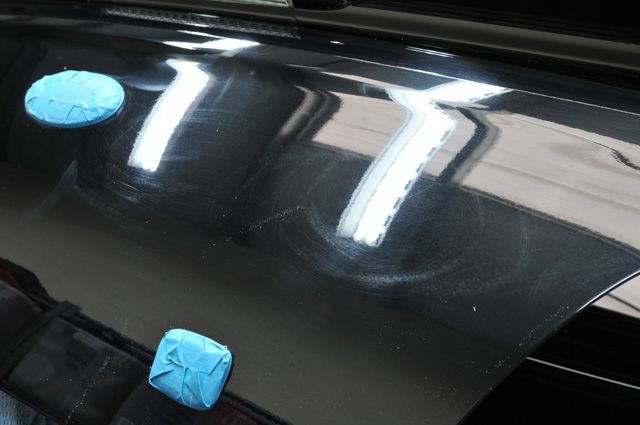
After:
Before:
After:
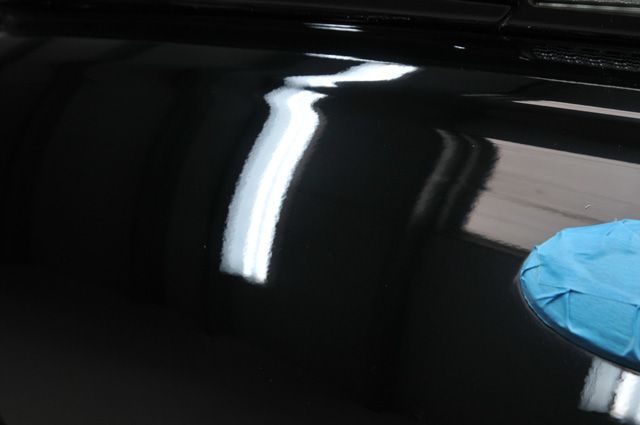
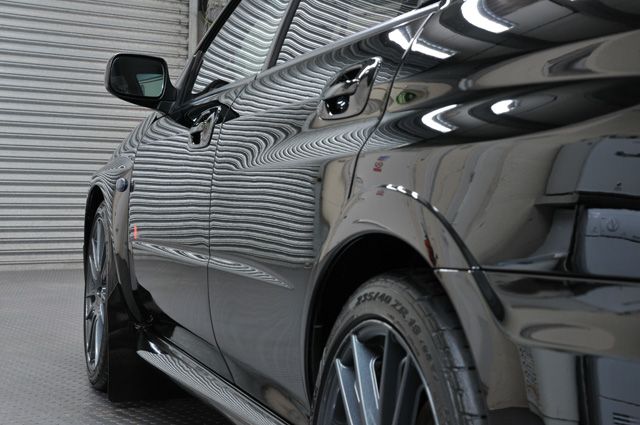
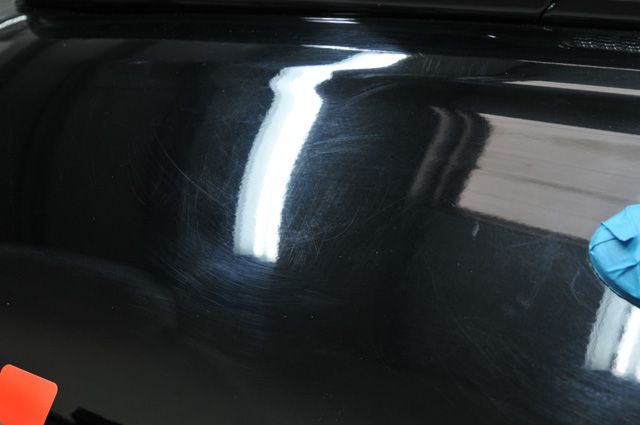
N/S door before:
After:
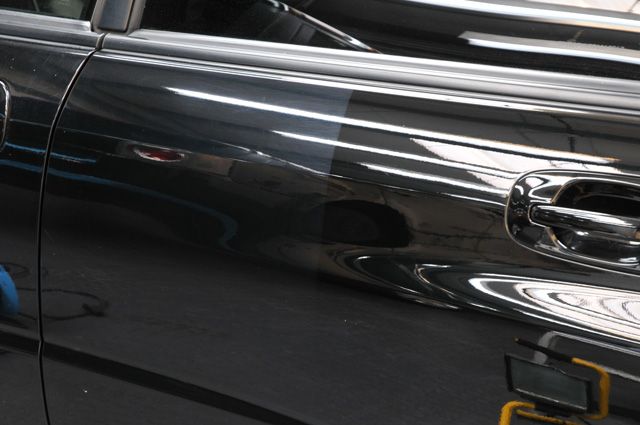
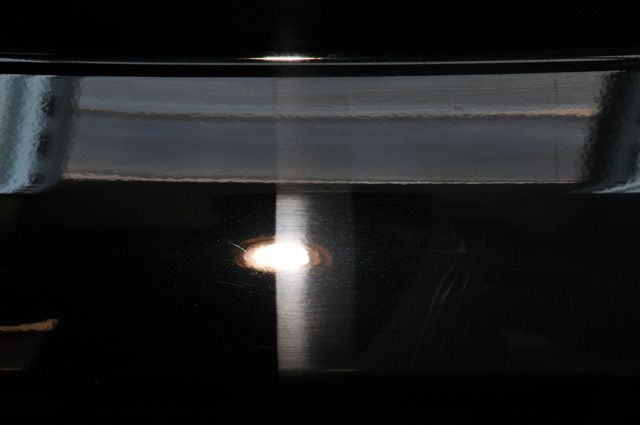
I think this 50/50 should show just how much clarity the defects were robbing the paint!...
Fortunately I got a break from the sticky paint when it came to polishing the plastics. These were slightly harder and thicker than the metal panels so Wolfs WP-5N with a Tangerine LC HT pad were used for these:
Before:
After:
Before
After:
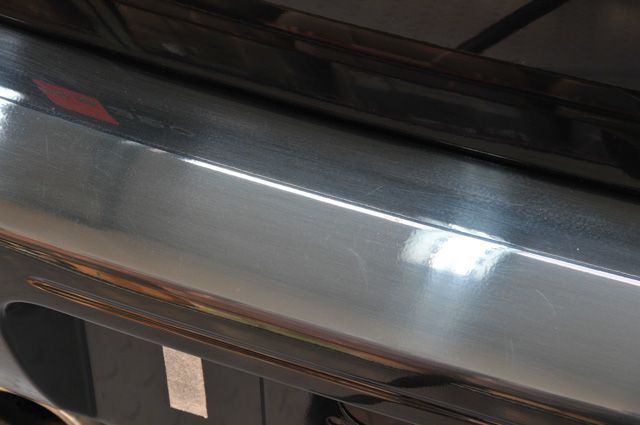
Rear bumper before:
50/50:
After:
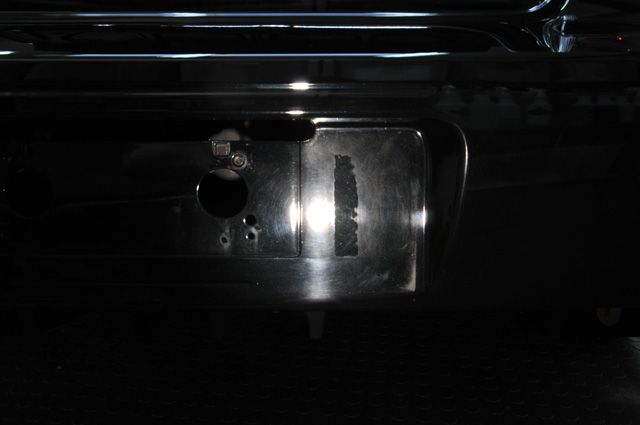
Number plate recess before:
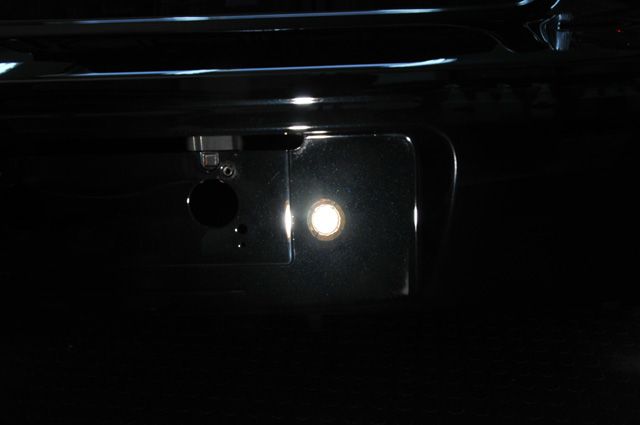
After:
Side skirt before:
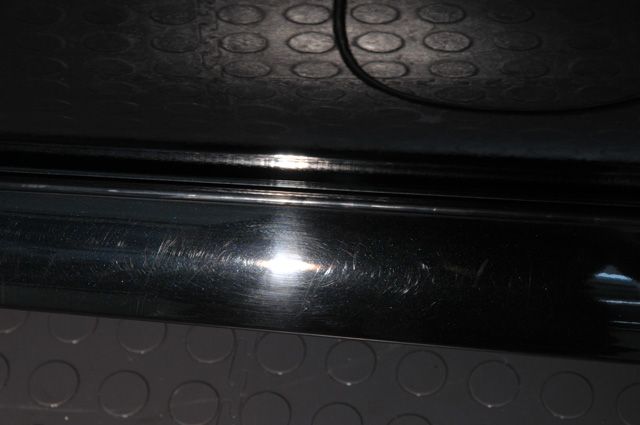
After:
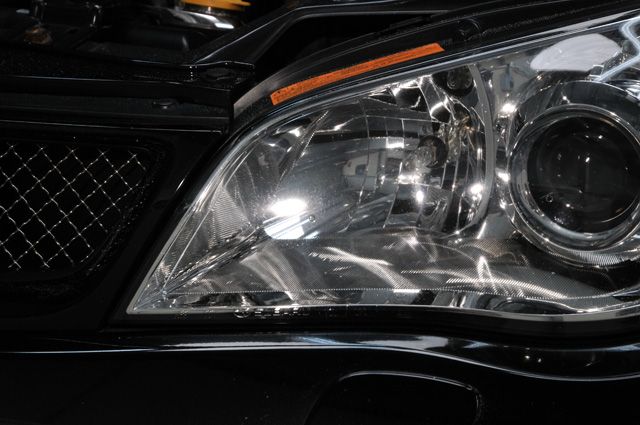
The headlights were slightly weathered:
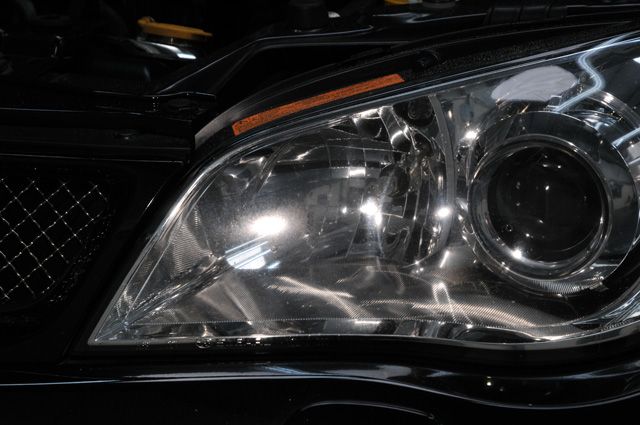
After:
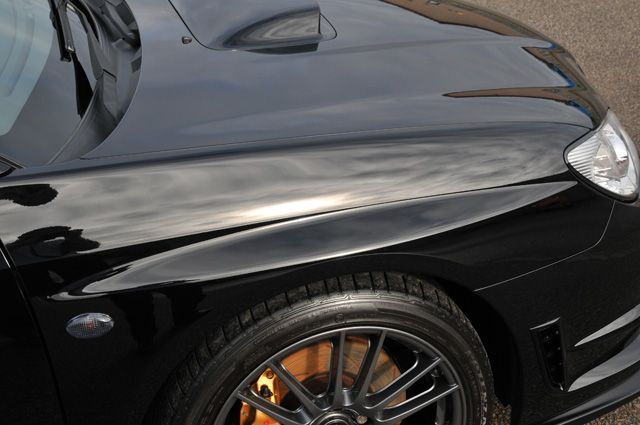
Front bumper wasn't too bad for defects as it had been painted at some point, although there were quite a few bug etchings:
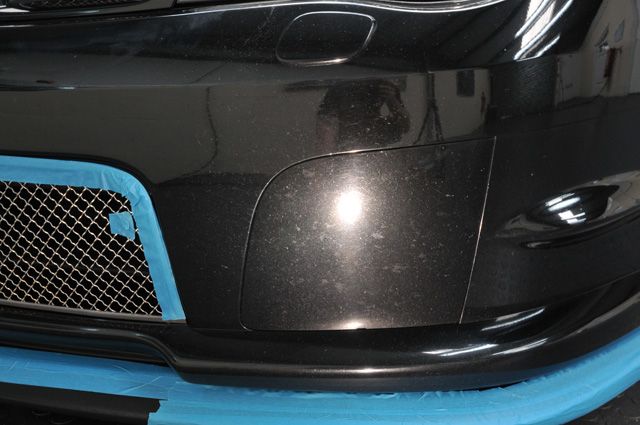
After:
Before:
After:
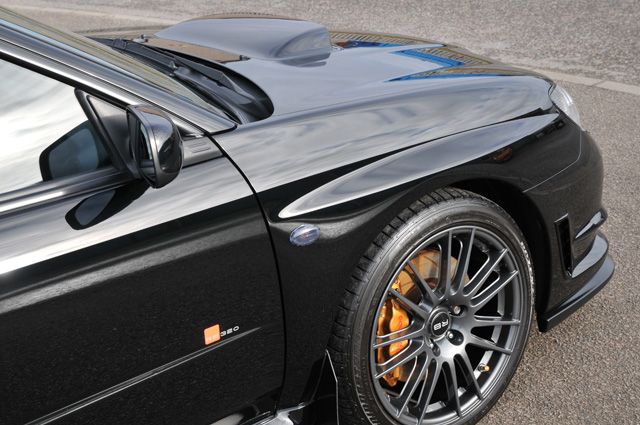
Along with the front bumper, the bonnet and wings had been re-sprayed too but were the complete opposite to the original paint, they were pretty hard and at an average of 190 microns fairly thick.
For these panels I used a Cyan Lake Country HT Pad with Wolfs WP-6H to achieve the following results:
After IPA:
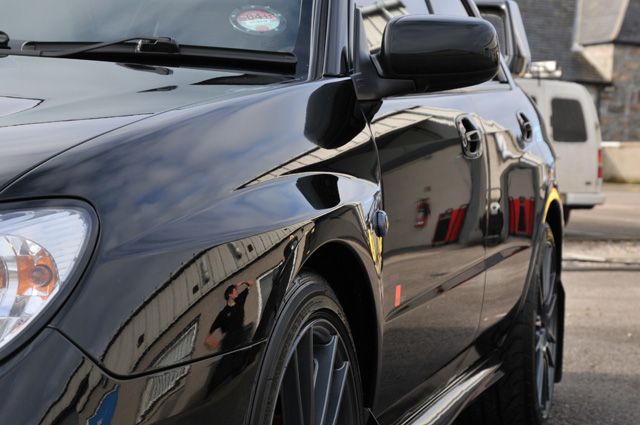
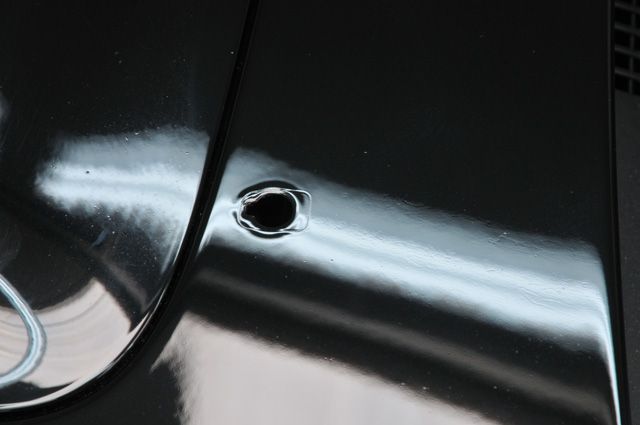
In between all the polishing I'd called Martin from Dent Devils in to take care of a few dings on the N/S door:
Martin at work:
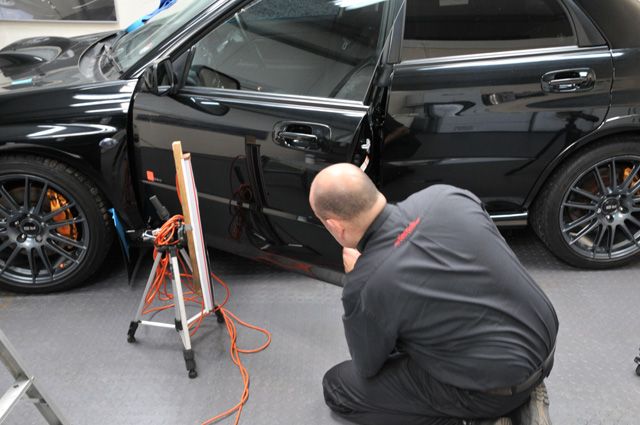
And literally 2 minutes later - all gone!
With all the correction work done I put the car outside to give it a thorough rinse down. Ultrafina wouldn't usually dust much but when you're dealing with sticky paint you're dealing with dust like it or not!
Looking much better already:
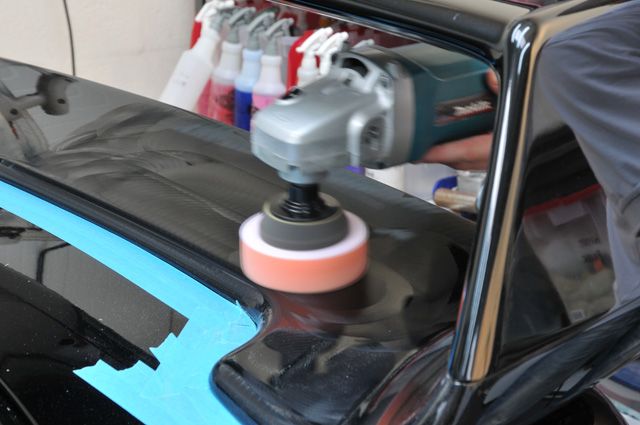
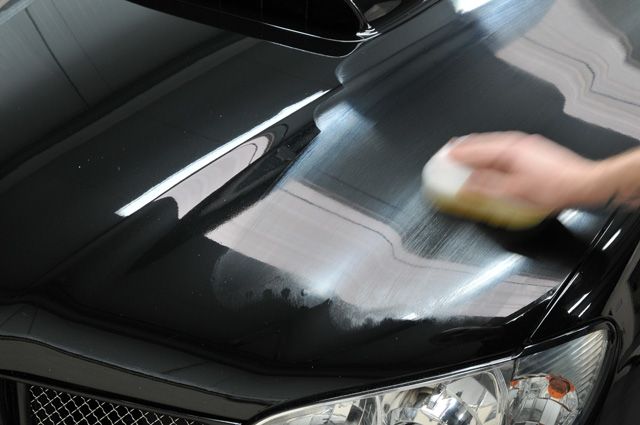
After drying with the Black Baron I refined the paint with Ultrafina again but this time with the DA and some LC HT Finishing Pads:
This was a time consuming step which took a whole Saturday to do as I had to make sure the polish was completely broken down and then avoid marring the super soft paint when buffing the polish off (which tends to want to weld itself onto the paint on sticky panels!)
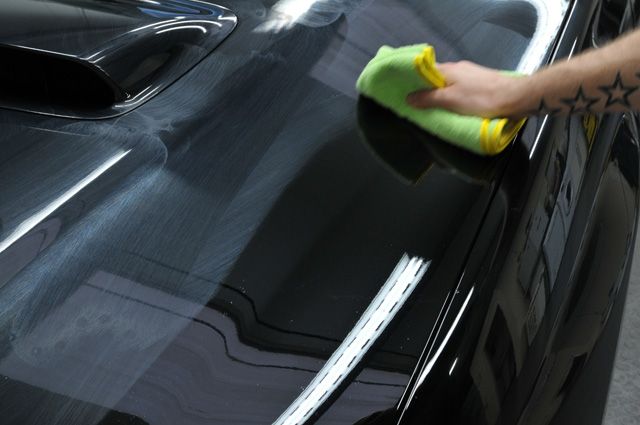
Eventually I got there (after re-doing a couple of panels as a result of inflicting some light marring) though so after a light dust down and IPA wipe down I applied Blackfire All Finish Paint Protection:
This was left for 20 minutes until I could leave a clean swipe with my finger:
Buffing off with a Poorboys DMT:
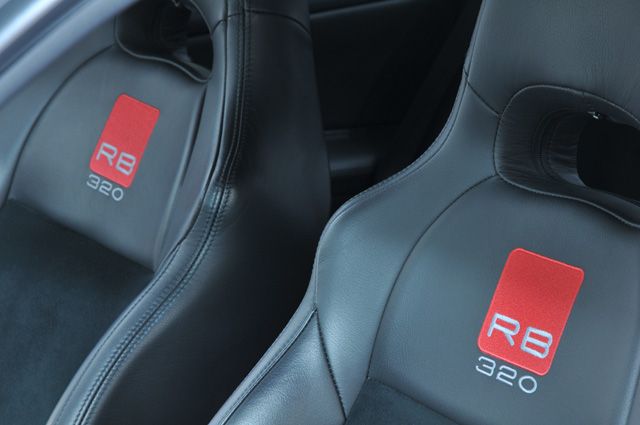
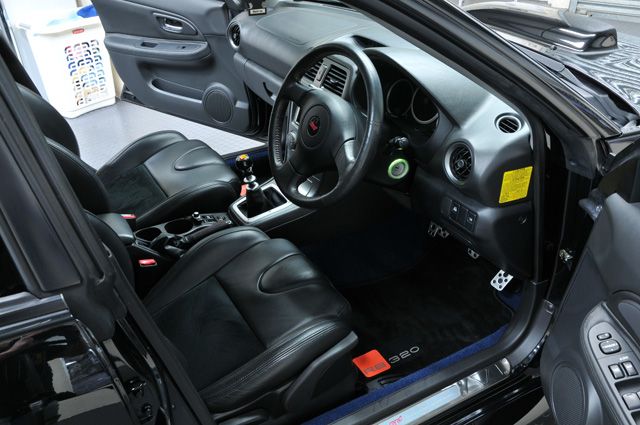
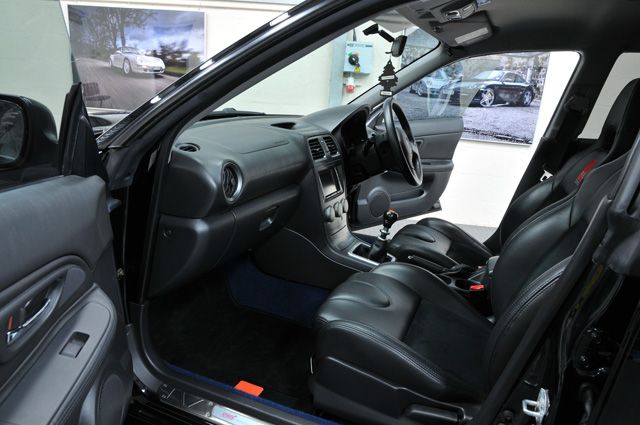
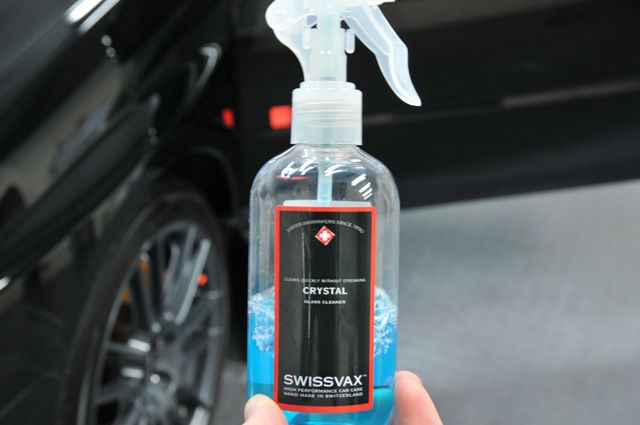
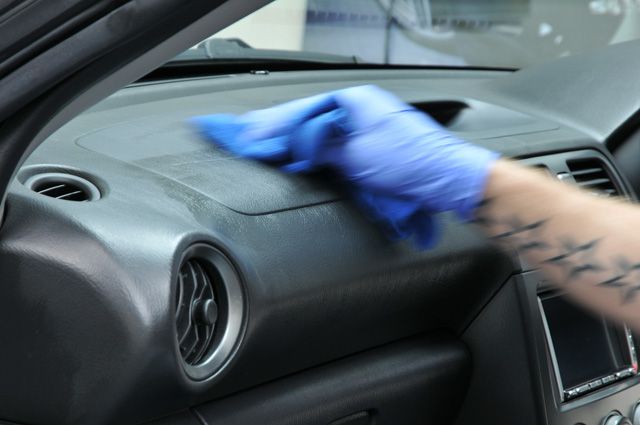
I then completed the rest of the car which included the interior glass with Swissvax Crystal (love this stuff!)
Vents etc dusted out before thoroughly hoovering and then wiping down all surfaces with APC:
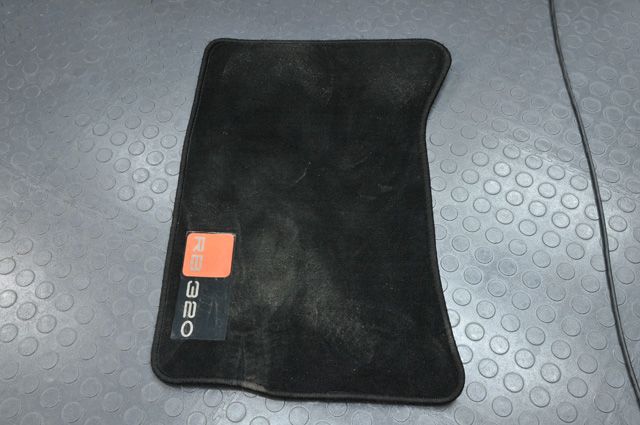
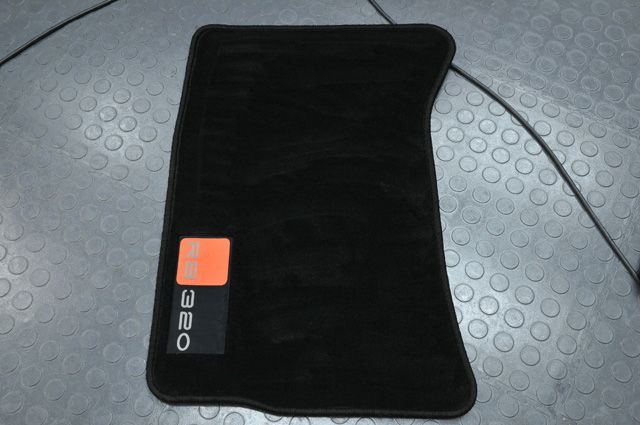
Matts cleaned and protected: